We woke up this morning and decided to cut the 45° angles into the picture frame boards.

Since I've never done any of this before, I built prototypes using some of our scrap lumber.


1. Measure all of your cuts and build a template out of cardboard to test fit. Draw it out on the board with a pencil but do it on the back side of the wood.
2. Use a circular saw to create multiple cuts into the piece approximately 1/8 an inch apart. Have the cuts stop about a quarter of an inch before where you want the final end cut to be.
3. Use a chisel to break out all of the small pieces of wood from the cuts. This is the easiest way to quickly remove a lot of wood from the gap.
4. Put your 1/2 in straight router bit into your router and then measure the distance between the end of the bit and the outside guide on the router. Mine is 1 and 3/4 in.
4. Grab a carpenters square and set it on top of where you want the final cuts to be. You're going to use the square as a fence for the router. Add 1 and 3/4 in to all sides of your cut, move the carpenter square as necessary, and clamp it down.
5. Set your router at a quarter inch depth and run it around the hole created during step 2 using the carpenter square as a fence to keep your cut straight. Repeat this process multiple times dropping the bit down a quarter inch each time. After four or five passes, all the material will be removed.
6. Use your 1/8 in rounded router bit to go along the edges of the cut to give them a nice smooth look.
7. Use some sandpaper to sand it down and then apply some wax to the cut to protect the wood.
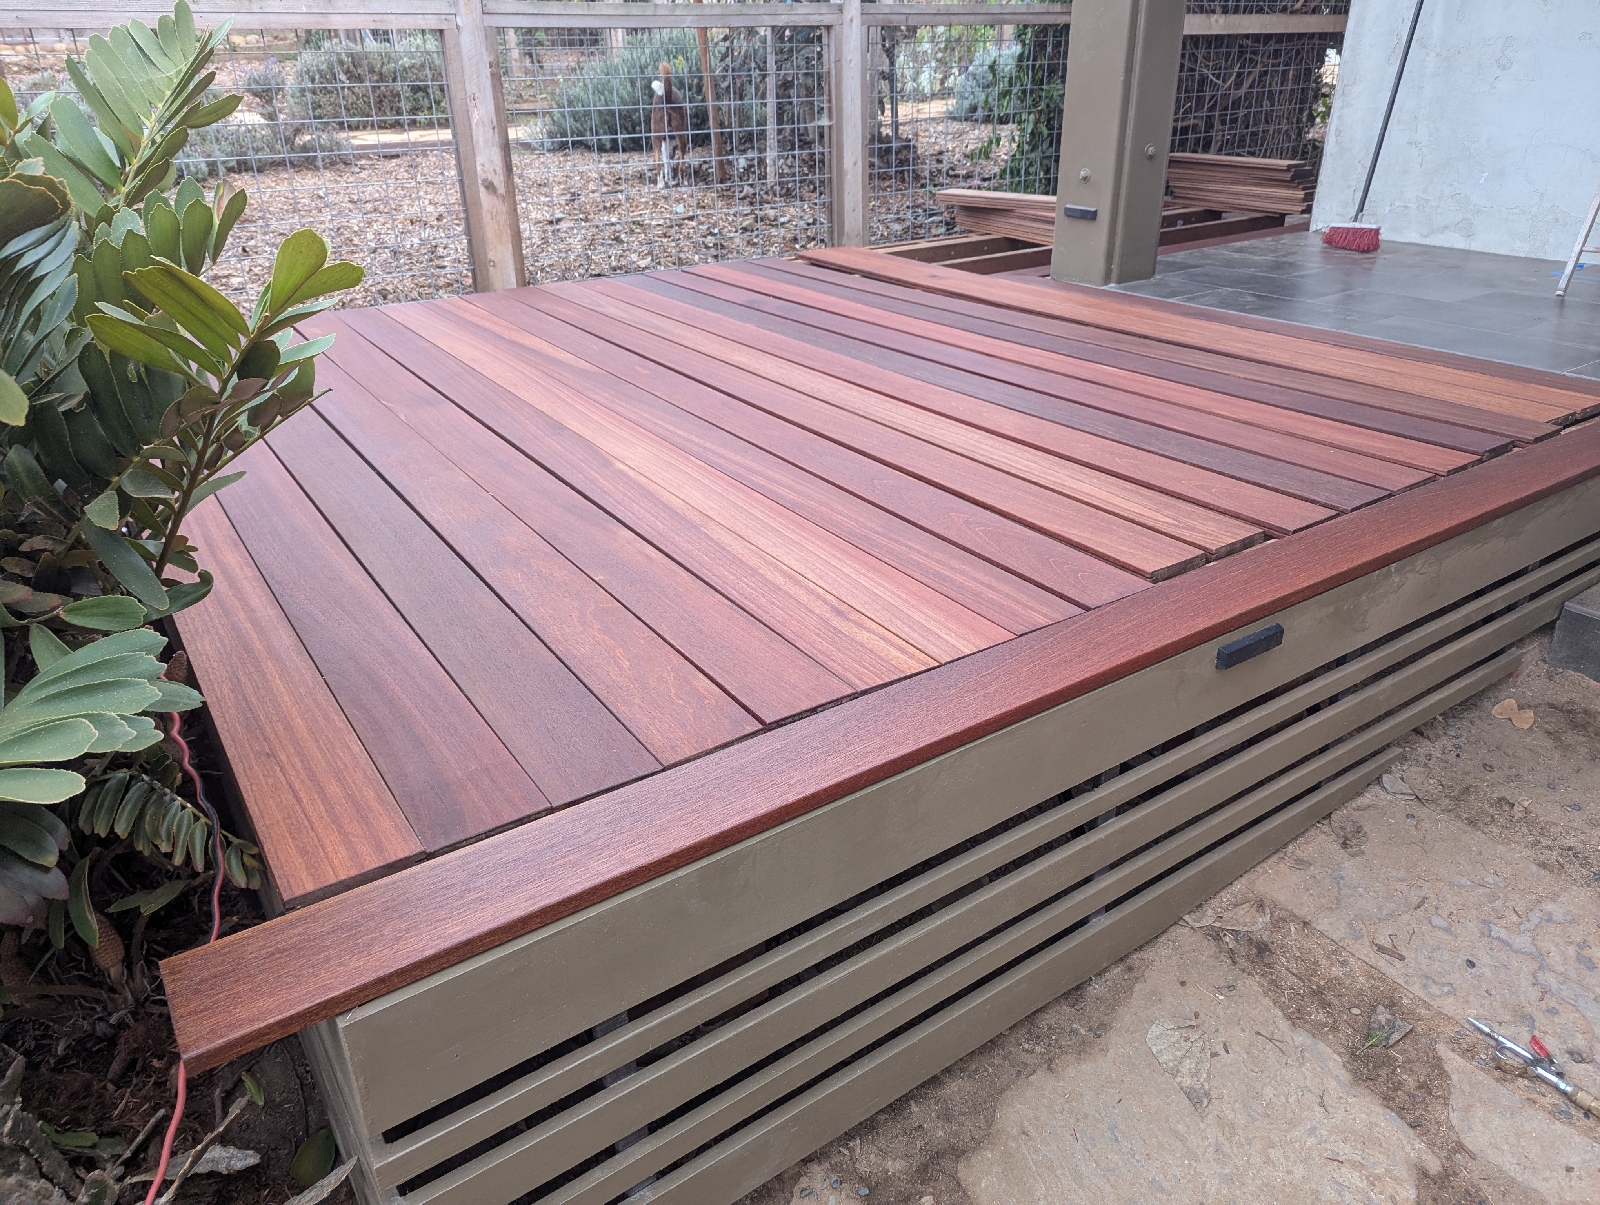
You end up with this......

For the rest of the day, Michelle and I sanded every board in the stack. Sanding was a two-step process. I ran across the boards with my old DeWalt orbital sander using 120 grit. Michelle followed me with the new Milwaukee cordless sander that I bought. We had 220 grit on that one and it really gave the wood a nice finish. We sanded all four sides of every board in the main field area as well as the picture frame boards.


Our backs are very sore!